Showing posts with label handmade. Show all posts

Saturday, December 3, 2011

Christmas U-turn

I feel guilty about not writing in the last couple of weeks. I could say that I've been busy (which is true) but I'm always busy. Truth is, I've had a couple of things on my mind.

Firstly, I've been spending a lot of time thinking about Christmas. It's the most stressful time for me in my personal life. Despite my best efforts to remain grounded, I worry about money and giving gifts.

As a little girl, there was always a lot of build up to the holidays. I remember my mom giving me a Sears catalogue to circle things I wanted. I'm sure I wrote a letter or two to Santa. There were Christmas records that we would play and I would belt out "I'm Getting Nothing for Christmas". As I got older, I would sit and rock while listening to "Carol of the Bells" and "Oh Holy Night". Mom would make her dynamite chocolate bon-bons and pecan sandies. She hung these beautiful felt stockings that she made for each of us. They had little faces and hair that looked like me and my brother and sisters. There was also the token advent calendar that we would use each year to countdown to Christmas.

But like most kids, I was focused on receiving gifts. Even at our elementary school, I remember they hosted a fundraiser in December where you went to purchase gifts for your family, as opposed to making something.

My favorite teacher, Ms. Como, led my first ever "Secret Santa" gift exchange. I remember how different it seemed for our class to be seated in a circle instead of behind desks.  The gift could be something from home that you simply didn't want or need, so long as someone else might enjoy it. That seemed like a novel idea.

Other than a beaded candy cane I made in Girl Scouts one year, I don't remember a tradition of making gifts and giving to others.

My mother was always stressed about money and giving gifts. GULP. Now I'm her.

So I had a great ladies night for my dear friend's birthday and she and her sisters got to talking about Christmas. I listened as they shared their family traditions of making gifts for each other. Each child only asked for one gift - not because they were told to - but because it was tough for them to think of anything they want.

This is another reason why television watching can be harmful: commercials. The children mentioned above rarely watch television so they aren't bombarded with things they should want. They aren't immersed in the gimme pop culture that we live in.

Dually noted.

Another dear friend of mine shared with me that she decided she would only give her children four gifts each year. Being a fervent Catholic, she decided that if her Savior only received three gifts, then that is good enough for her children, plus one special gift from her and her husband.

I ask myself: why am I compelled to make a huge list of things I want to buy for my son? The result can only be that he will learn to expect a pile of presents each year and I will continue to stress about it. Of course we feel happy to receive something special, but that is diminished when expectations are sky high. It only leads to disappointment and a skewed outlook of what makes a person happy. My goal is to help him understand that real, lasting happiness doesn't come from things. How's he going to understand that if his happy Christmas is based on us buying him things?

That's why I've decided to make something of a U-turn, a righting of the ship, if you will. Our focus must be on giving. He's two, so he limited in his understanding of making gifts for others, but there's no better time to start a tradition than now. When he looks back on his holiday memories, I want him to remember that he helped make the cookies for the trash collectors, postal carrier, doctor office, and teachers. He will have a hand in making special ornaments or picture frames or whatever it might be for his loved ones, even as a tot. And I want him to feel that fantastic, unquenchable happiness that comes from giving something special to show gratitude for people that make our lives better.

I know this seems like a no-brainer - I'm always making gifts for others anyhow, so why would this modest gift approach be such a departure? But it truly will be difficult for me not to go crazy and buy him every cute wooden toy I see. I think this is my (mom's) urge to make my child happy with stuff.

I'm going to keep re-reading this post if I have to in order to stay the course. We'll see how it goes...


All I need is my family, mom.

Sunday, August 28, 2011

pies and flannel board: warm and fuzzy projects

Two pies: apple pie and pot pie. Neither of them will EVER compare to my mother-in-law's pies, but a girl has to try! Thanks to my BFF allrecipes.com, my apple pie was amazing! The pot pie...well, I don't want to talk about it.
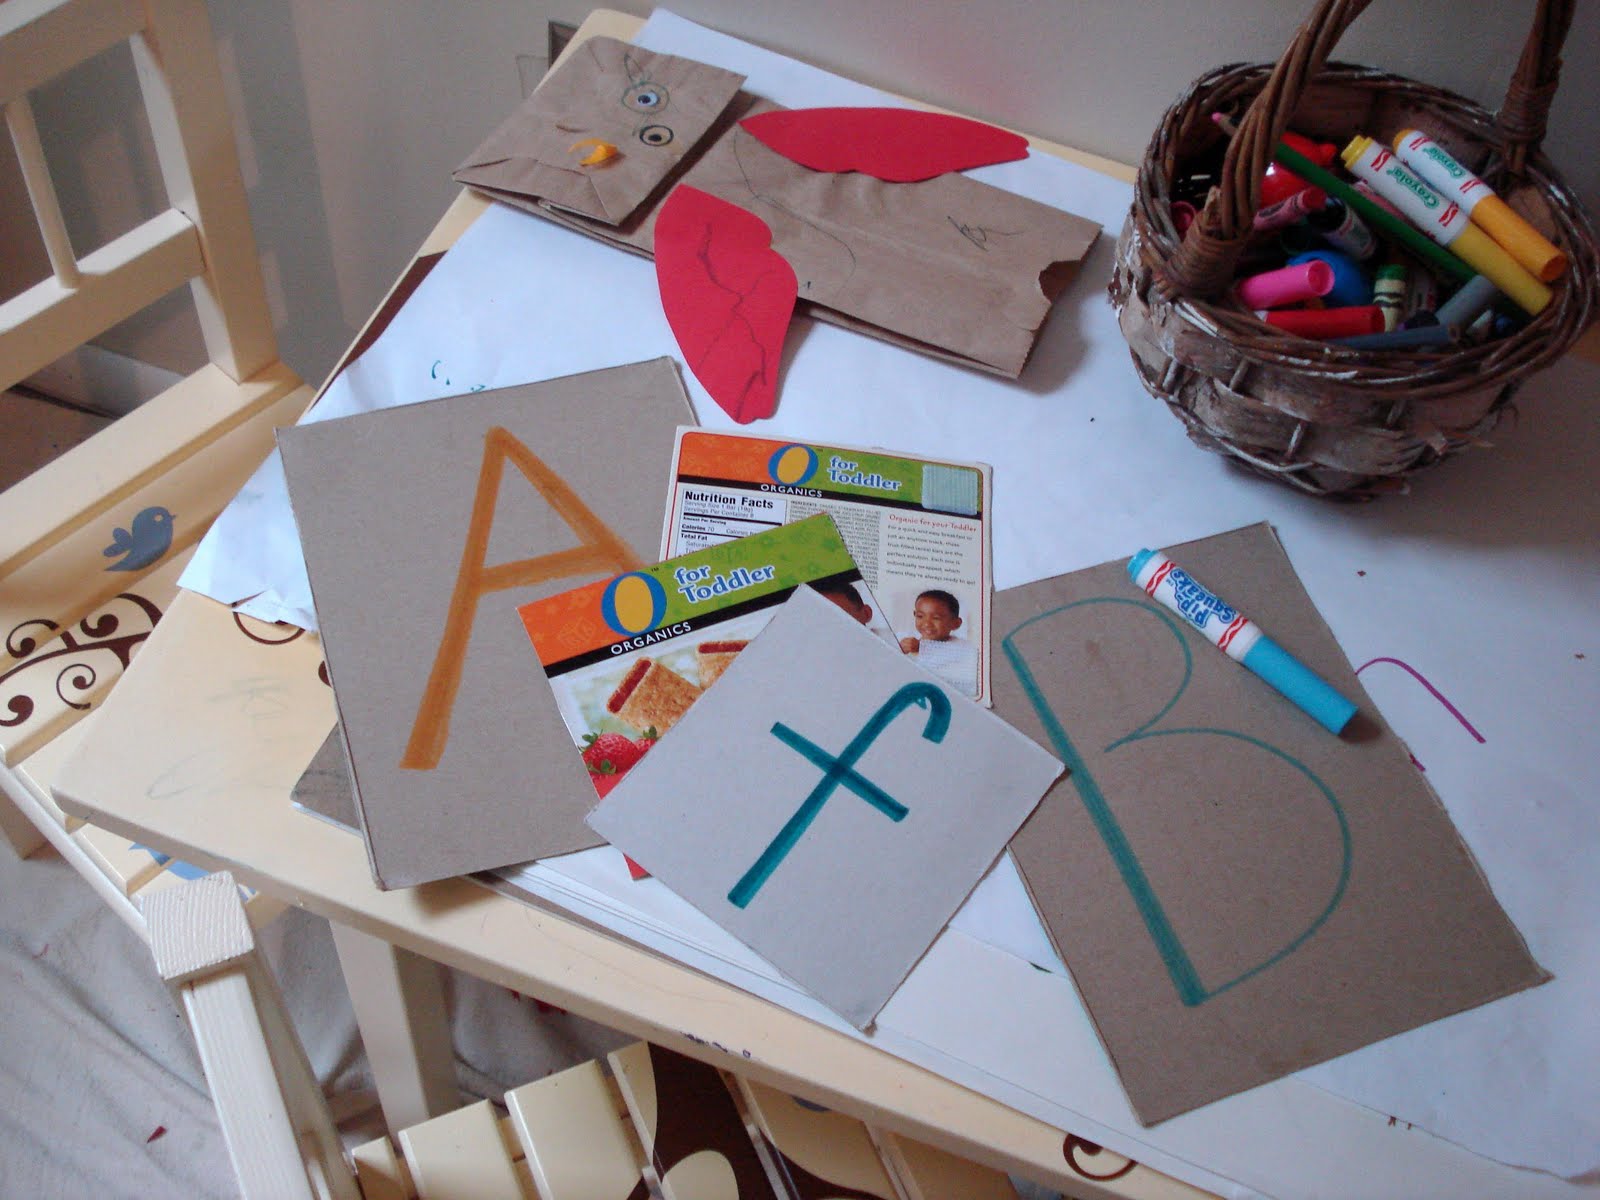
And while I had some time on my hands during E's nap, I got started on his flannel board. I've been using recycled cardboard packaging to write alphabet letters (one day he'll be old enough to make his own). My thought was that these could have velcro on the back and be used on a flannel board for spelling. But first, I had to make one.

Supplies: fabric to fit your board, good scissors, staple gun with staples, ribbon, and hot glue.

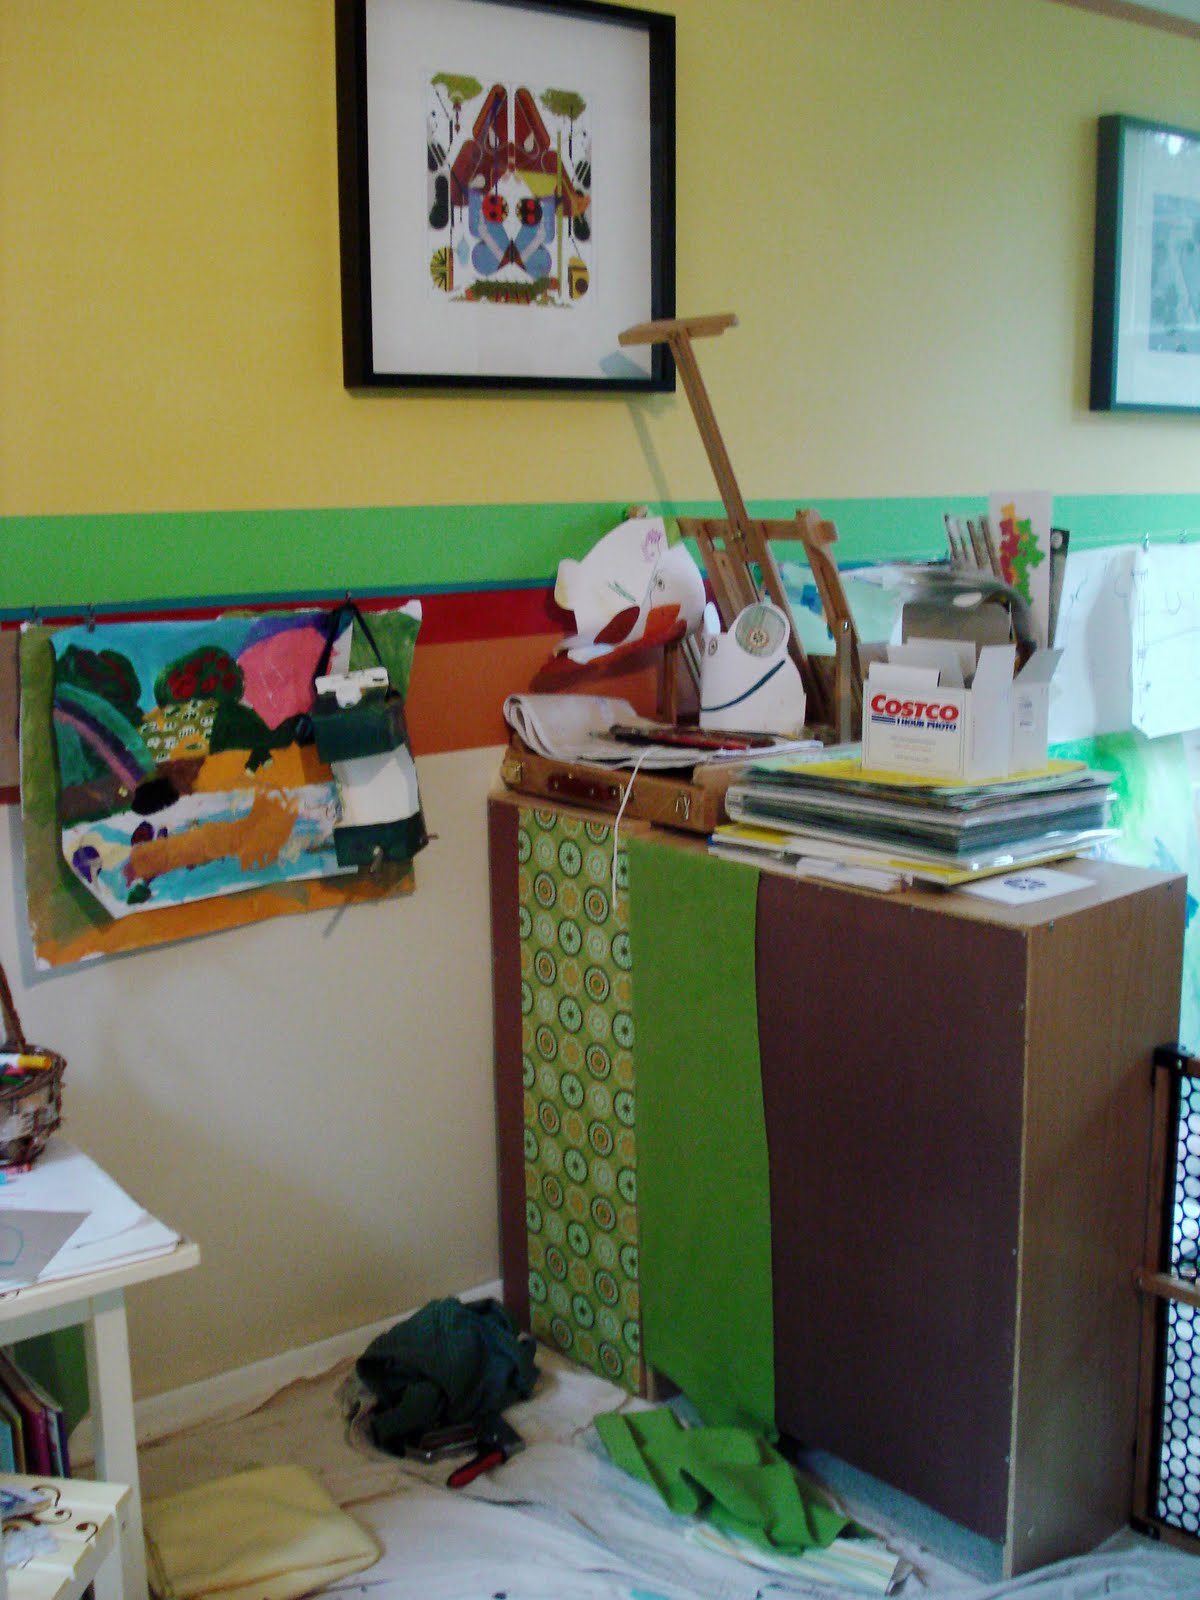
If you can get past our messy art room/play room, you can see that the backs of these small book cases divide mommy's art room from E's play room. And since they're cheap book cases, it's just a sturdy board backing that can be stapled into.

So I went through my fabrics and found some scrap flannel, fleece, and one other weird yard sale fabric that the velcro seems to like. Next I started stapling it onto the cases. It's important to me that the finished board is safe, so after all the fabric is in place I will hot glue ribbon on top of the staples. Here's my progress so far:
You can see the ugly brown backing of the book cases here. Anything will look nicer than that!
Almost all of the fabric is in place. (Still need a strip of fabric on the far left.)

The stapled seams are ugly! The next step is to cover them with ribbon.

This is the start of our alphabet cards.
When the flannel board is complete, I will update the post!

Finally, Friday was E's last day of camp. I think this photo about sums it up.

Saturday, May 14, 2011

I spy kiddie art and custom graphic tees


Okay, so the photo could look more professional,
but you get the idea. Can you spy a wooden car?

I had a fun with my six-year-old niece recently while making our own "I Spy" game. We scavenged the house for her favorite objects and she arranged them in a pleasing way. Next, we photographed them. The photos can be printed at home and made into a personal "I Spy" game book. Other themes to photograph might be:

-utensils in the kitchen
-stuff to write with or write on
-bath toys and bathroom items
-seeds, leaves, and flower petals
-things from the recycle bin
-puzzle pieces
-favorite finger foods/snacks

This would also make a cute calendar or even holiday greeting card. If you've got your own version of these "I Spy" photos, I'd love to post them here! I may try my hand at these with my preschoolers if we find the time before the end of our school year. I know they could come out with some great outdoor I Spy photos!

Hand-printed Animal T's
I also wanted to share a recent t-shirt project I made for my son. I love the graphic tees from the Tea Collection and Mini Boden but they are so expensive! So I took inspiration from a couple of my son's picture books and made my own graphic tees for under $5 each.

I picked up a few cheap cotton t-shirts and washed them to make sure they were already shrunk. I put newspaper in between the front and back of each shirt to make sure my paint wouldn't go through.

Next, I drew animal designs onto a foam sheet from the craft store. If you want your stamps to have texture, just press hard on the foam with a ball point pen as you draw. You can see the detail in the printing where I used dots and short lines on the owl. Remember, when you are printing, your design is going to print in reverse.

I cut out the foam pieces and painted each piece with acrylic paint (you could use fabric paint here instead). When you apply the paint, keep in mind that if the paint is too thick, it will squish and spread out - potentially distorting your design. Also, your brush strokes in the paint may show up, which can be a good thing if you plan for it.

I carefully stamped each piece onto the shirt, pulled off the foam stamp, and let dry. I washed off my stamps while waiting for the paint to dry. It dries fairly quickly because the cotton tees are very absorbent. Now, I already had a whole alphabet stamp set to add text to my design, again, using acrylic paint. You could omit this if you just want to print a design.

Once the paint is dry on the tees, you can use a contrasting fabric marker to outline or add little details. And that's it - your own custom graphic tees, just as cute as the fancy shmancy ones!

Saturday, April 30, 2011

Heirloom eggs, thanks to our family for kicking off this tradition.


A beautiful spring token from the mother-in-law...
With all the excitement of the royal wedding of Prince William and Kate Middleton, it already feels like Easter was eons ago. They have their family traditions, and we have ours...so I thought I'd share some of our "firsts" to celebrate spring at Easter this year:

-We have a family Easter basket (I wove it myself - no seriously - I used to teach basket-weaving) complete with silk lining made from leftover scraps of fabric.

-The family basket contains a handmade Easter journal in a silk pouch. The journal is to write down who was at our festivities and what we did. There's also room for photos.

-Each family member painted a wooden egg. Year after year we can use them for egg hunts.

-I decided that chocolate babka will be my staple Easter treat for dessert at brunch each year (husband approved, of course :) It is amazingly delicious, like a chocolate-filled croissant. It was a hit!

So there you have it, a few new traditions of our own. What are some of your favorite Easter traditions?
The dogwoods are blooming! The dogwoods are blooming! Yay for Spring!

Thursday, April 14, 2011

discovery jars


A friend of mine visited a Waldorf School in Baltimore recently and said that the children enjoyed dropping objects into tissue paper covered jars. The "ka-plink" sound is pleasing to them and the paper protects the glass. I think she said that the kids were dropping old wooden clothespins into the jars.

I didn't actually get to see the jars myself, but I thought this was a cool idea. I figured I could make my own!

I re-purposed these leftover Ball canning jars and a recycled sauce jar to make my version of "discovery jars". I had some handmade paper scraps that were thick and perfect for covering the glass. (Tissue paper or fabric would be lovely, too.) I used regular Elmer's Glue (not the washable kind) to seal the paper on the outside of the glass. On the bottoms of the jars, I cut and hot-glued felt just to make sure they wouldn't break when set on a hard surface.

These jars are great for sorting, grouping, and counting (all important math concepts for early learners). Given my toddler's obsession with lids, these jars are perfect! I made a few for my preschoolers as well. They can sort seeds, shells, stones - you name it.

And you know what else? Lots of grown-up uses, too. The jars would be beautiful with a tea light inside as a lantern or tied with a ribbon for a flower arrangement.

Monday, April 4, 2011

animal handprint paintings for baby

Remember these little paintings?
Well, I've finished them...except for the part E gets to do on each birthday...
My idea for these animal paintings was to create something that E could add to. He can put his adorable little handprint on these, at least until he's four! It will be fun to see how he grows with each year and this is something a bit less hokey than some of the handprint art I've seen out there. When he outgrows these paintings someday, I can paint over the handprints and pass them on to someone else's baby.
 
Here's E's one-year-old handprint. Yes, momma helped...


This owl's belly is ready for E's 2nd birthday.

He'll have to make a handprint on either side of the dragonfly. Poor design on my part!

We've got lots of salamanders in our yard -
by age four I think E will know ALL about them!


Sunday, April 3, 2011

What do ugly neckties and snakes have in common?

Let's see...they both have eye-catching designs and each can be frightening upon an encounter, especially when around one's neck.

After some research on-line to find a clever snake-themed art project for my preschoolers, I came across a fabulous idea to sew a snake from re-purposed neckties. But to my dismay, I went to click on the instructions and the author wanted me to PAY for them! As if! So I thought, "I don't need no stinkin' directions! I'll figure it out myself!"

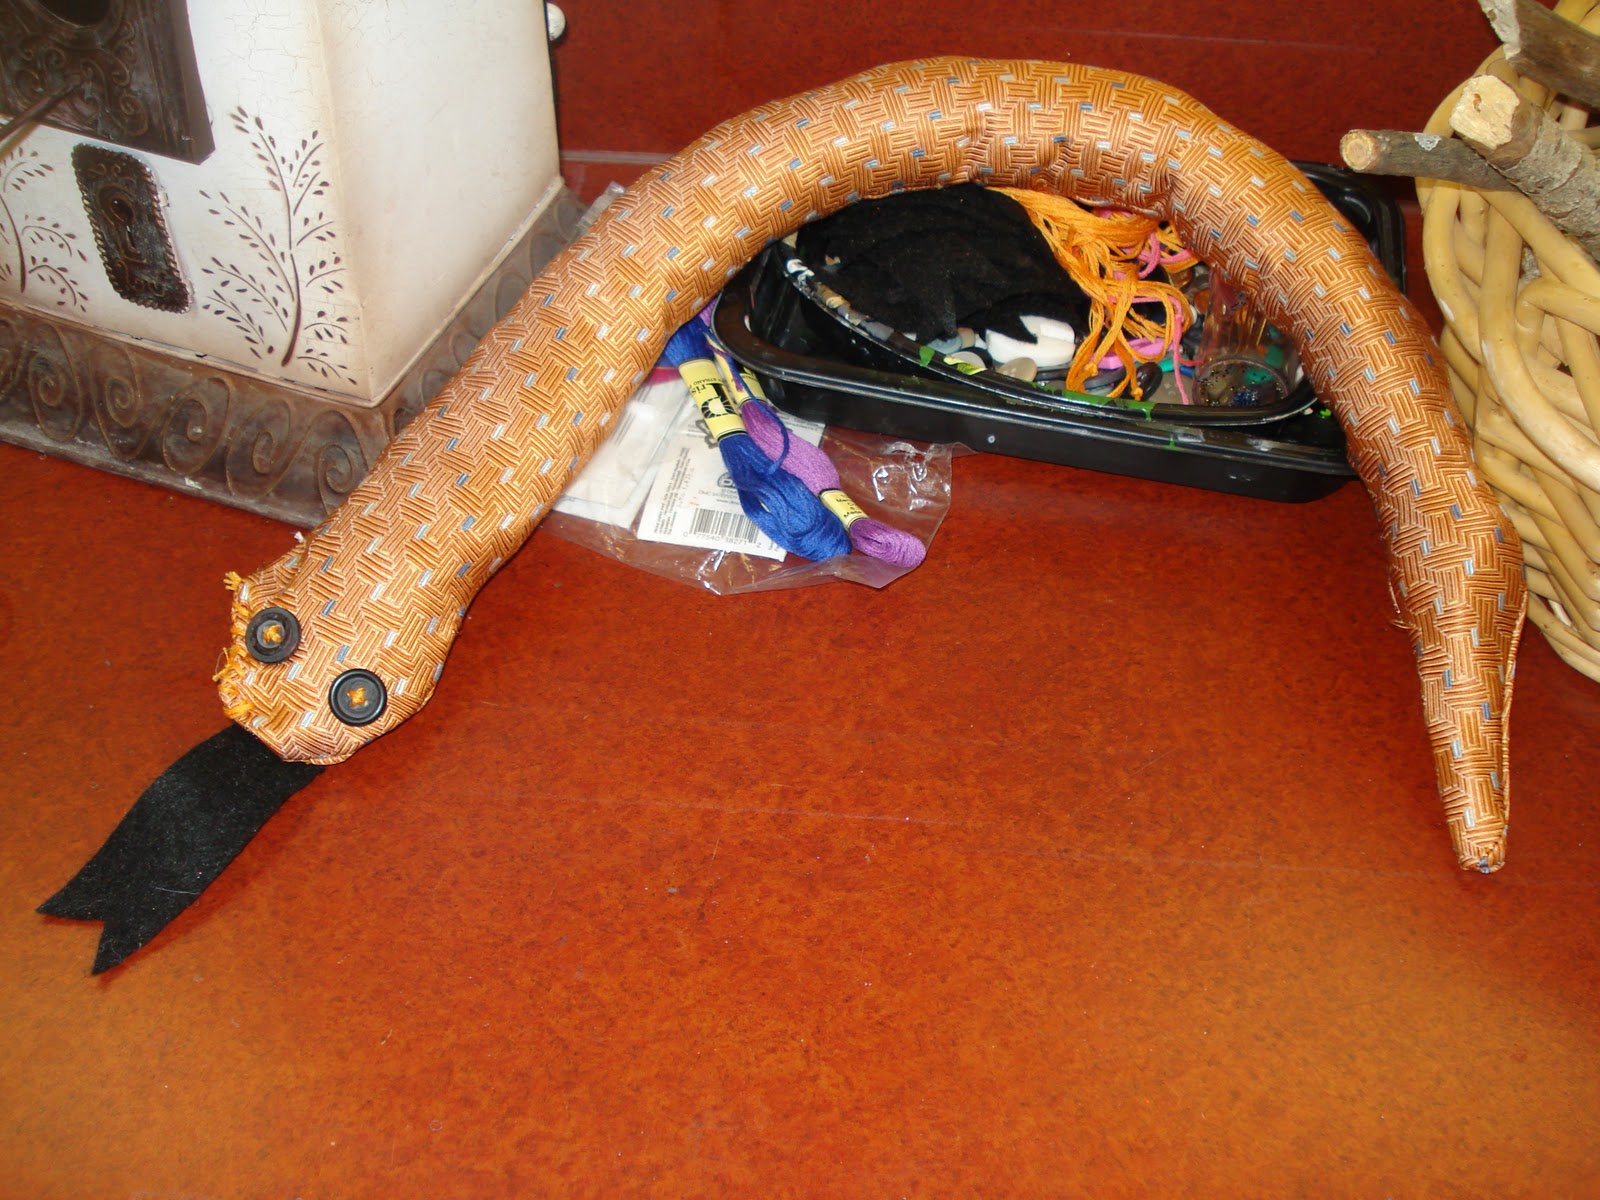
So here is my version of a snake necktie. And by all means, freely use my instructions!
STEP 1: Open up the seam of the necktie. Iron the seams so they are open and lay flat.
Remove the lining and set aside. (You may want to cut it up and use as stuffing.)

STEP 2: Fold the tie over so the ends touch. The "right" sides of tie should face each other.
The "wrong" sides of the tie should face out. Pin in place. Can you see where the snake is?

STEP 3: Sew the snake together, leaving an opening at one end for stuffing.
Cut off excess fabric and set aside.
(NOTE: If you don't trust yourself to freely sew the shape, draw an outline as part of Step 2.)

STEP 4: Use the opening to turn the snake inside-out.
Double-check your seams to make sure none are popping open.

STEP 5: Stuff the snake with old pillow stuffing, shredded paper, or fabric scraps.
This part is fun for the kids!
(NOTE: You may need a long stick or dowel rod to help push the stuffing down.)

STEP 6: Pin the opening closed. Thread large needle with embroidery floss. Help your child to stitch the opening closed. Let your child select buttons for eyes and cut out a felt tongue. Help her stitch them on as well. OPTIONAL: Use more buttons or sequins to sew on snake scales.

VOILA! Your snake is complete!
I should note that after sewing 20 of these, this seemed more like an adult project than one for my students!

But that said, I brought my sewing machine to class and the kids took turns sewing (with help, of course) to make a class snake. The children learned how a sewing machine works and believe me, they were mesmerized! They were very impressed when I pointed out the stitching on their clothing and told them this is how clothes are made before they go to stores for us to buy.

After the children participated in the sewing demonstration, they each selected a "snake". Several of the children had brought in ties from home which they used. We assisted the children as they stuffed and sewed the snakes over the course of a couple classes during their self-directed play time.

I really loved this activity - it was worth all the advance preparation!

Sunday, March 27, 2011

full of potential...

As spring rolls around and retailers hype up the usual commercial junk surrounding Easter, I do my best to tune it out. Holidays shouldn't be about material things but time spent with loved ones celebrating a meaningful cause.

We are not a religious family, so Easter is not about the crucifix for us. But I still love Easter and the memories I have of it as a child with my family. So what's a girl -- a new mom -- to do?

Considering that Easter's most prominent features are Pagan and tied to the season (eggs, flowers, chicks, and even the Easter Bunny), it makes perfect sense that our holiday is about celebrating spring.

Easter then, to me, is the joy of life awaking and new life emerging. It is the promise of potential in us all after a long, cold winter.

Everything is alive and new again. Buds are on the dogwoods in the yard and tulips are pushing up through the ground. Birds and frogs are calling. It is a magical, sunny occasion worthy of celebrating each year.

In my quest to establish traditions for my son, I've been brainstorming what I can do to make the holiday more meaningful. Our heritage is decidedly Eastern European so I thought it would be fun to bake a chocolate babka for Easter brunch this year. I'm going to attempt to make a "blessing basket" to share with our family as well. After all, we are so very blessed, now and always.

So far, I've painted some wooden eggs. But the painting continues and so does the potential of our new Easter traditions...I wonder how Great Uncle J will feel about painting an egg for E?

Sunday, March 13, 2011

made with love!


Sorry, baby. This quilt isn't for you!


A dear friend of mine is expecting in late April so I wanted to give her something extra special for her new bundle.

I've never had any formal quilting lessons, but I love to make quilts. I just sketch out a quilt design and make square templates from a recycled cereal box. My quilts are definitely not precise, but I am always happy with the results: durable, warm, and made with love.

This quilt has a mix of yellow and green flannel and cotton fabrics with a fuzzy, soft white back. I hand-stitched all the swatches with animals (partly because I'm not good at top-stitching with the machine, but also to quilt the front to the back so the blanket doesn't shift). 

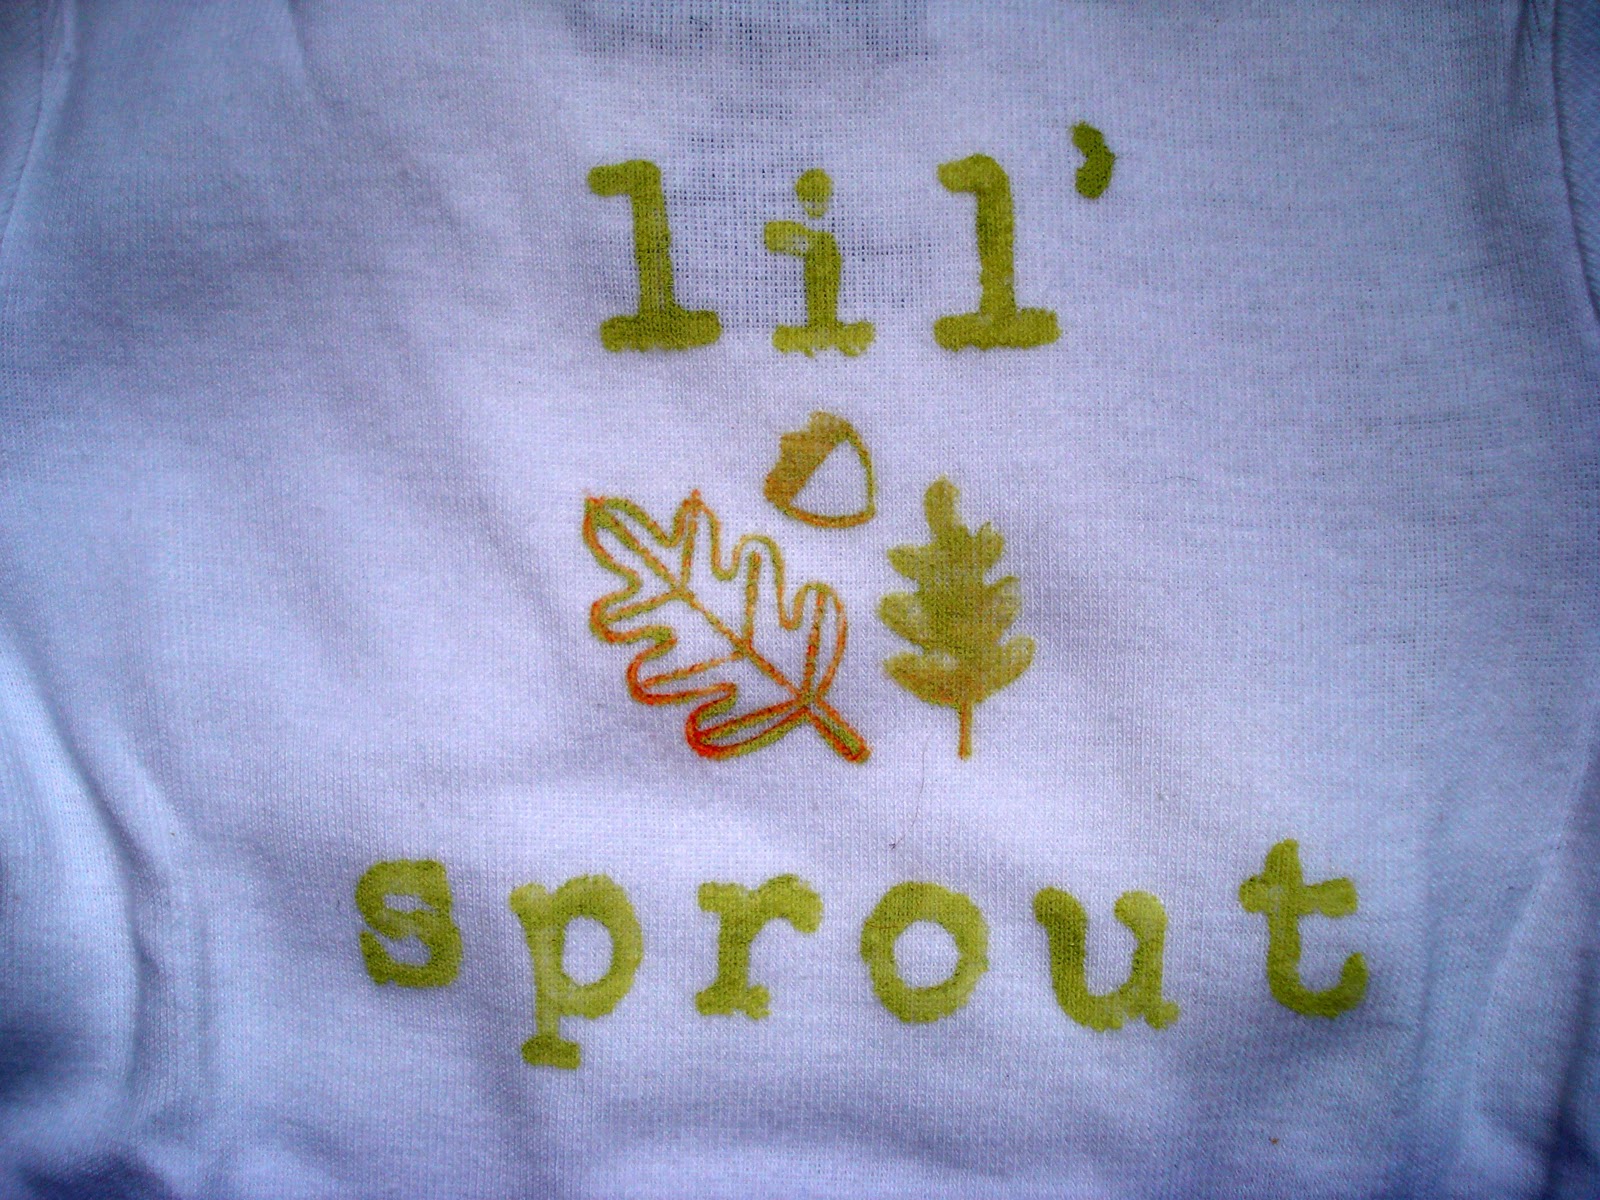
These little onesies were also a gift. I have made these for several babies (including my own) and they are great because they are cute and easy to personalize. Try it yourself!

Here's what you need: alphabet stamps, animal/nature stamps, foam sheet, scissors, craft acrylic paints, sponge or other paint brush, piece of cardboard or newspaper stack, and the onesies or t-shirts.

Step 1: Wash the onesies. Place card board or newspaper between the front and back to avoid paint seeping through.

Step 2: Decide on the phrase and image you would like to use. (Ideas below.) Cut out your foam stamp, if necessary.

Step 3: Paint the back of each stamp and stamp in place. If you're worried about getting a perfectly straight line of letters, then off-set them like this one. For added effects, use more than one color of paint on your stamp. You may want to test this on paper first.

Step 4: Wash off your stamps and paint brushes. Don't get lazy here! Your brushes will be useless if you don't. And intricate stamps get easily clogged with dry paint - so wash up!

Note: If you want to add more detail, you can purchase fine-point fabric markers and do some outlining once the paint dries.

I use simple acrylic craft paint because it's cheaper than fabric paint, available in way more colors, and definitely WON'T wash off. (I've stained many a pair of jeans with this paint, so I would know!)

The foam sheet would be if you want to cut out your own stamp. For instance, the onesie that says "dreamer" I cut out the cloud shape from the foam, then painted it to use like a stamp. If you really love the foam stamps you create, use Elmer's glue to attach them to scrap wood blocks. Once the glue is completely dry, you'll be able to use the stamps over and over again. By the way, this is also a very easy method of making stamps with kids!

Cute phrases for these baby onesies might be:

rock star
precious
super hero
queen bee
wild thing
gifted
lucky duck
king of the forest
earth angel
baby love
snuggle bunny
top dog
genius
rising star
lovable
adorable
kissable
the next big thing
heart throb
sweet pea
wild flower

...this list could go on and on - but I'm sure you'll come up with your own!

If you decide to make these, I'd love to see your pics. Happy crafting!

Yes, peas are delicious - and funny!

Yes, peas are delicious - and funny!
Our little guy at 15 months, February 2011.