
 |
| Sorry, baby. This quilt isn't for you! |


A dear friend of mine is expecting in late April so I wanted to give her something extra special for her new bundle.
I've never had any formal quilting lessons, but I love to make quilts. I just sketch out a quilt design and make square templates from a recycled cereal box. My quilts are definitely not precise, but I am always happy with the results: durable, warm, and made with love.
This quilt has a mix of yellow and green flannel and cotton fabrics with a fuzzy, soft white back. I hand-stitched all the swatches with animals (partly because I'm not good at top-stitching with the machine, but also to quilt the front to the back so the blanket doesn't shift).

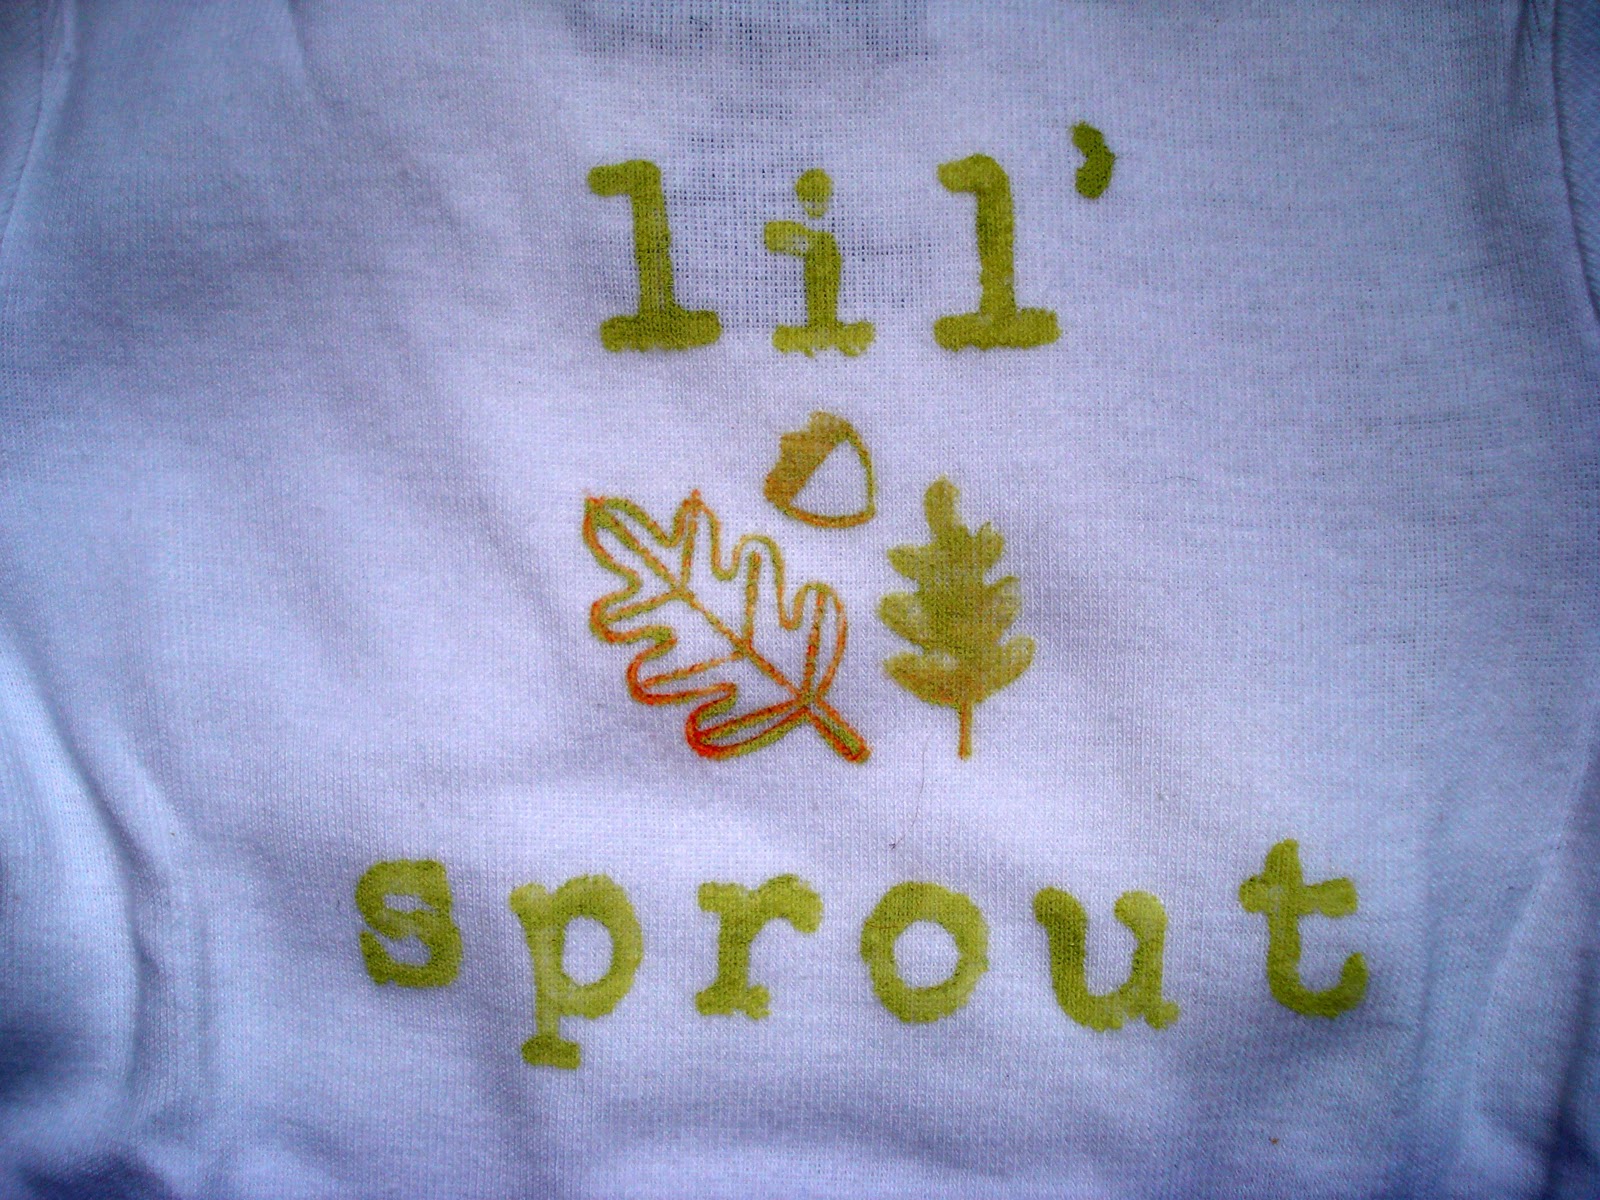
These little onesies were also a gift. I have made these for several babies (including my own) and they are great because they are cute and easy to personalize. Try it yourself!
Here's what you need: alphabet stamps, animal/nature stamps, foam sheet, scissors, craft acrylic paints, sponge or other paint brush, piece of cardboard or newspaper stack, and the onesies or t-shirts.
Step 1: Wash the onesies. Place card board or newspaper between the front and back to avoid paint seeping through.
Step 2: Decide on the phrase and image you would like to use. (Ideas below.) Cut out your foam stamp, if necessary.
Step 3: Paint the back of each stamp and stamp in place. If you're worried about getting a perfectly straight line of letters, then off-set them like this one. For added effects, use more than one color of paint on your stamp. You may want to test this on paper first.
Step 4: Wash off your stamps and paint brushes. Don't get lazy here! Your brushes will be useless if you don't. And intricate stamps get easily clogged with dry paint - so wash up!
Note: If you want to add more detail, you can purchase fine-point fabric markers and do some outlining once the paint dries.
I use simple acrylic craft paint because it's cheaper than fabric paint, available in way more colors, and definitely WON'T wash off. (I've stained many a pair of jeans with this paint, so I would know!)

Cute phrases for these baby onesies might be:
rock star
precious
super hero
queen bee
wild thing
gifted
lucky duck
king of the forest
earth angel
baby love
snuggle bunny
top dog
genius
rising star
lovable
adorable
kissable
the next big thing
heart throb
sweet pea
wild flower
...this list could go on and on - but I'm sure you'll come up with your own!
If you decide to make these, I'd love to see your pics. Happy crafting!

Great idea for baby shower gift!
ReplyDeleteLoved these gifts! I'm sure mama-to-be did too!
ReplyDeleteThanks, Colleen. It was great seeing you guys there!
ReplyDeletewhat a cute idea!!!
ReplyDeleteSo adorable!! You use acrylic paint? I had no idea it doesn't wash off... I will definitely be making a t-shirt for my son. Such a great tutorial! Thanks :)
ReplyDelete